How to insert table in Word 2013
- Click “INSERT”
- Click "Table"
- Drag your mouse to select grid to create table.
- Alternatively, you can click “Insert Table…”
- Enter the number of columns and the number of rows that you want to insert.
- And then click “OK”


How to change table’s style in Word 2013
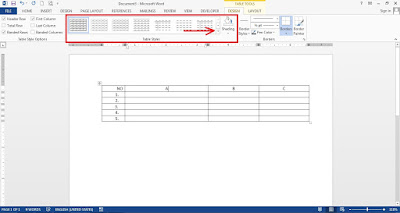
- To change the table’s style you have to click on table area first.
- Then click “DESIGN”.
- See the table style group.
- Click the drop down arrow to get more style.
- Select and click the table style, and the style will apply to your table.


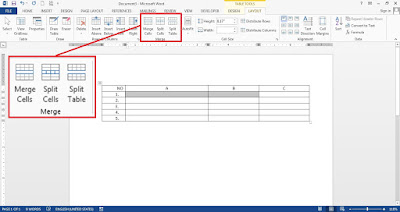
How to merge and split the cells of table in Word 2013
