
How to insert a check-box in Word 2013
First step, show the developer tab
If you can see the developer tab on the ribbon,
then you can skip this step and go to the second steps. Nevertheless, if the
developer tab didn't appear on the ribbon, then let us make it appear first. Follow the instruction below:
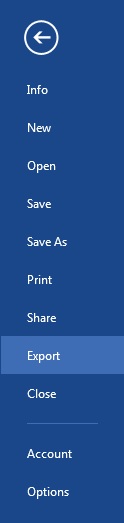
How to show it? First, you have to click the “File” tab. Then you click “Options”.
Next, you will see the word options dialog opened. Then, you click “Customize Ribbon” on the left pane. In addition, you check the developer on the main tabs box (see the right pane)

Second steps, how to insert a check box
Firstly, you click the developer tab. Next, you click the check box button on the controls group.

Next, you click “Properties” on the controls group. Moreover, you change the checked symbols to check box by clicking “Change...”

If you get hard to find out the check box symbol, then you select “Wingdings 2”for font. Moreover, you will see the check box symbol. Finish the steps by clicking the “OK” button”.
No comments:
Post a Comment